Being a Mac OS person working in a Windows dominated office environment is not always easy. Mac versions of software written for Windows machines are rarely great. It is a challenge to keep my workflow smooth while using a Mac as my main machine at the office.
In my former job, we used Kerio Connect for our email services. Kerio saves the organization a healthy amount of money when compared to Microsoft’s Exchange, but with those savings come some big challenges.
Not specifically due to Kerio, but a challenge in the workplace nonetheless, is email storage space. Our IT department gave us a downright meager 175mb of email storage. This makes searching old emails on any machine except the one hard-wired to the wall in my office, completely impossible. This is a big problem for a job that is so reliant on email as the primary means of communication.
The bulk of emails I receive are stored on a machine that is inside the building, connected to a closed network. I could remote connect to my machine but that is glacially slow. I could manually archive these emails, create a .zip file of the archive, place it on a USB stick or perhaps in a Dropbox folder, and then copy that file to my Mac, but that is a lot of work to keep up with.
Simply put, I want all of my email together in one place, I want my work email to behave like my personal Gmail account does. Everything is searchable, all of the time. I want it all to be searchable, and I want the storage quota my work’s email account to remain low. I want the comforts and convenience of using Gmail in the workplace while continuing to conform to what my IT Department sanctions as acceptable forms of email.
I needed a solution this summer, and thankfully I found one. What you need is Outlook 2011 for Mac and a fresh Gmail account.
Here’s how to create your own searchable archive of all your work email.
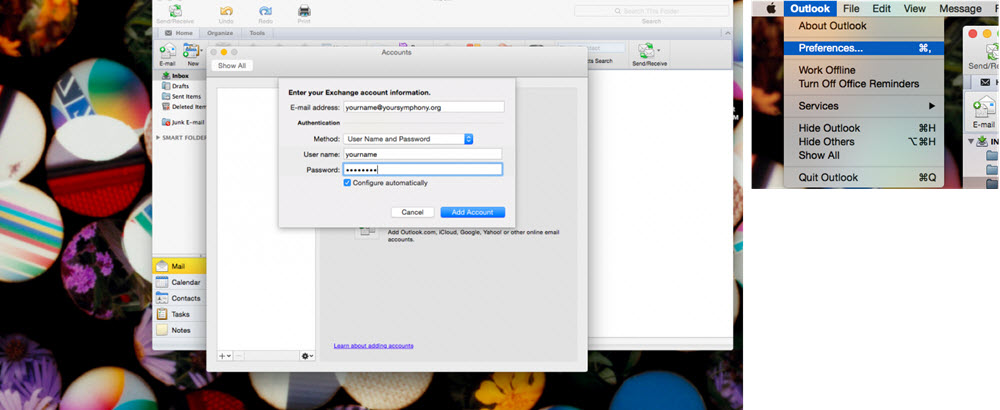
Step 1
On your Mac, open Outlook 2011. You will be prompted to add an account.

[divider_flat]
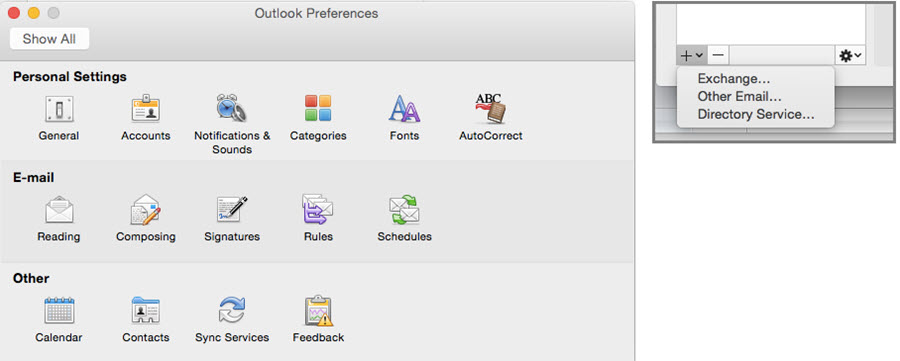
Steps 2 and 3
[divider_flat]
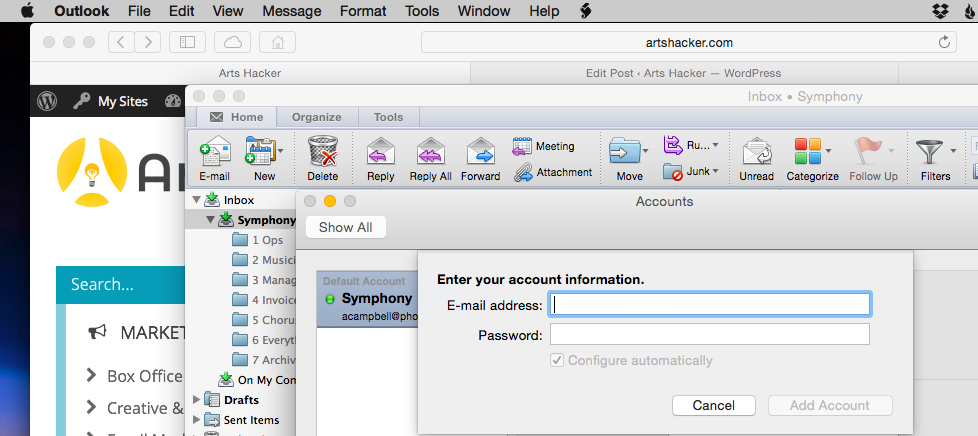
Steps 4 and 5
[divider_flat]
Step 6
[divider_flat]
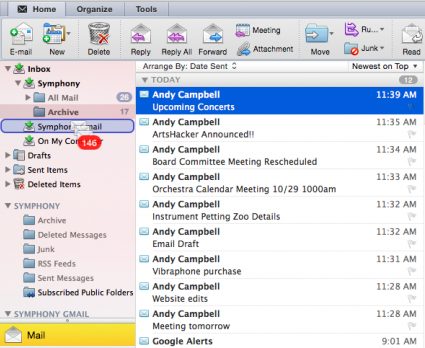
Here’s where the fun starts!
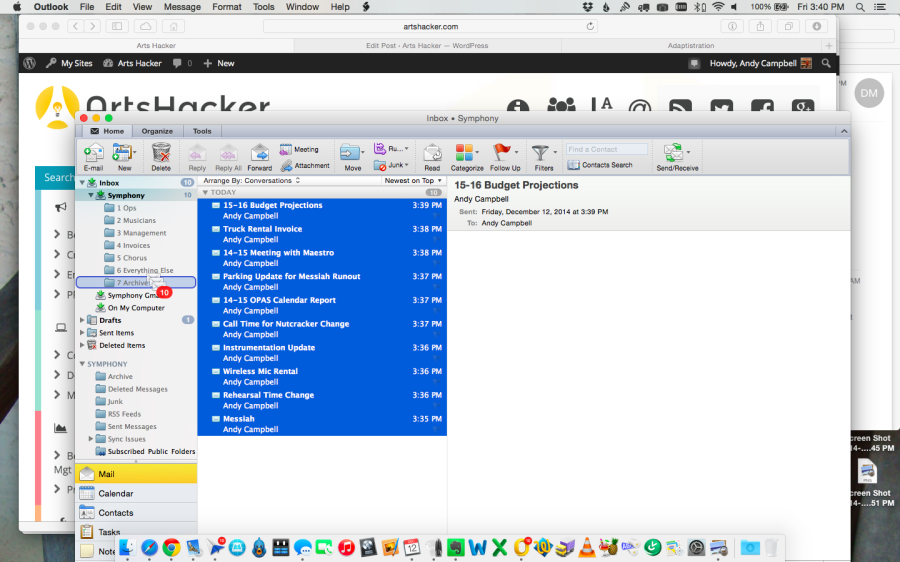
Navigate to your work email’s Inbox and select all of the messages you’d like to archive.
Drag those emails to the new ‘Archive’ folder to move them out of the main Inbox.
[divider_flat]
This next step is where your personal email handling habits will come in to play. Personally, I like to keep a clean Inbox. If an email is in my Inbox, it needs to be acted upon. Once I’ve acted upon an email, I move it out of the Inbox and into a folder for keeping. Since I implemented this Outlook/Gmail partnership, I have moved nearly everything to the Archive folder and I now keep 7 folders in my work account.
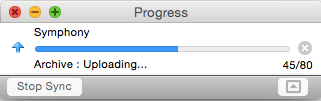
Once you are ready to see that magic happen, navigate to the ‘Archive’ folder, command-A for select-all, and drag all of that selected email to the Gmail Inbox.
[divider_flat]
[divider_flat]
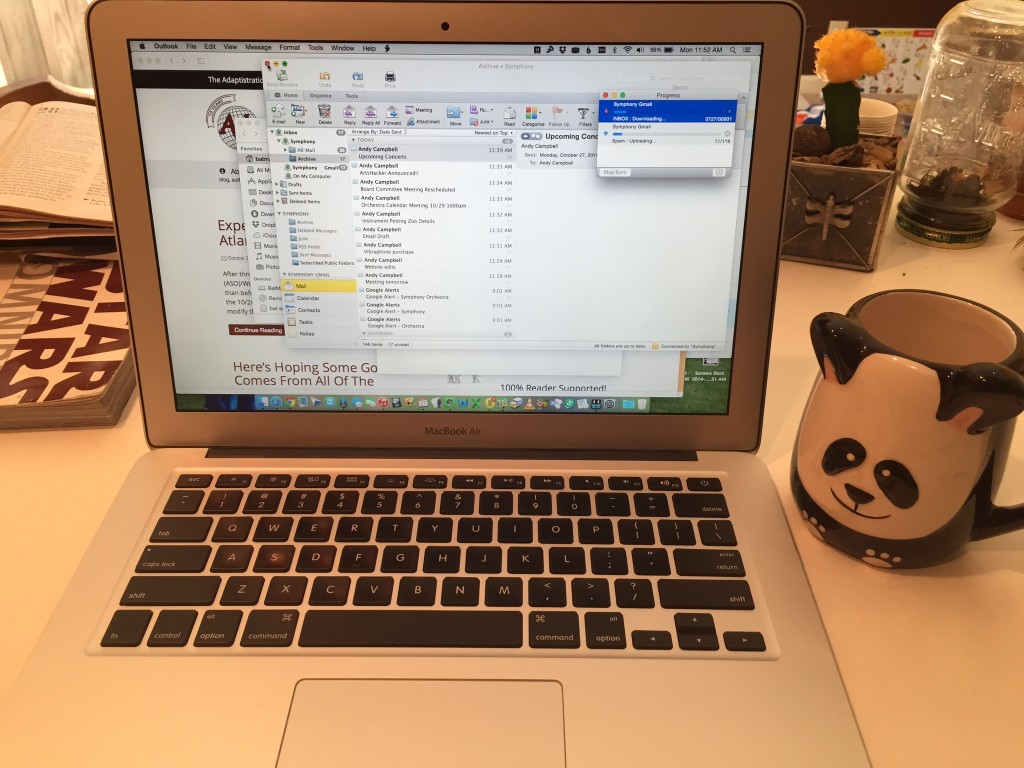
Note: This upload process is very slow. Depending on the number of emails you are uploading and your internet connection’s upload speeds, it can take several hours.
For a frame of reference; I had 95mbps down/95 mbps up connection at the office and uploading 500 emails took 2-3 hours. Your mileage will vary.
I recommend having a cup of Aeropress prepared coffee while you wait.
When the upload process is complete, and you have confirmed the emails are in the Gmail Inbox, feel free to delete the emails from the ‘Archive’ folder in your work email. Enjoy the sweet relief of a nearly empty email account.
I’ll write up how to set up this Gmail account on mobile devices in another post, but for now, if you follow these steps you’ll have all of your email searchable wherever you have your Mac and a connection to the internet.
I have problems with my Mac book . I for got window password what step I do to recover my pass ward.
So sorry to hear that! First thing I’d do is try the steps in this article.
Mac Password Recovery
If that doesn’t work, I’d schedule an appointment with an Apple Genius at an Apple Store and they will walk you through the process. Good luck!!