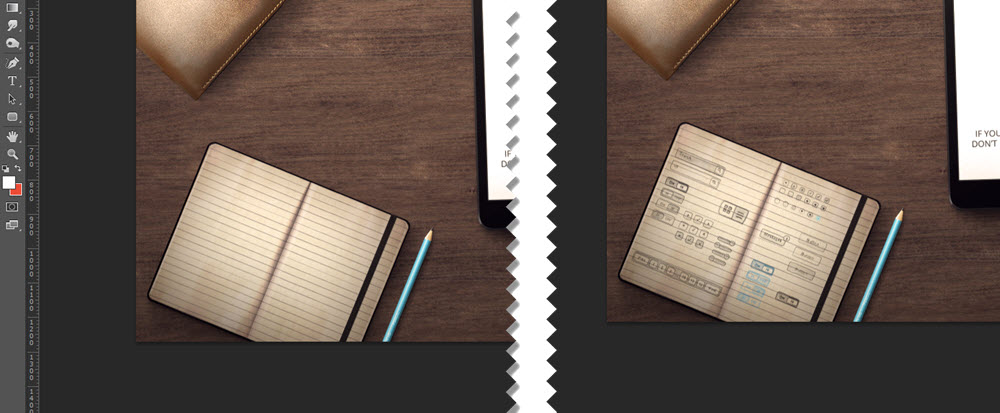
In case you missed Ceci Dadisman’s 1/16/2015 ArtsHack on creating easy mockup images so as to help refine your communication efforts, make sure you give it a look. Think of this post as a pro-user companion piece in that we’re going to look at some mockup resources that provide beefed up options and customization as well as cover how to use Smart Objects in Adobe Photoshop in order to take advantage of all that premium awesome.
The resource listed in Ceci’s post, Magic Mockups, provides some terrific staged environments and if you’re an Adobe Creative Cloud user, you can find similar mockups available as part of your subscription. Just do a search for “mockup” in the Creative Cloud app and start narrowing it down from there. But one thing you’ll discover is that most of these templates only allow you to place a screencap into the respective device but don’t offer any way to edit other items in the file.
If you have a budget and can spend anywhere from $5 – $15 per template, sources such as GraphicRiver.net provide some stunningly diverse and flexible premium options (do a search for mockups). The requirements for most files are fairly straightforward:
- Adobe Photoshop (CS6 or CC).
- A computer with a graphics processor capable of handling print level quality image files.
- Being comfortable working with Smart Objects.
If the last item seems like a dealbreaker, no worries, Smart Objects are super easy to use. Here’s an example using the mockup that appears here at ArtsHacker in a number of variations.
Master Smart Objects the Easy Way
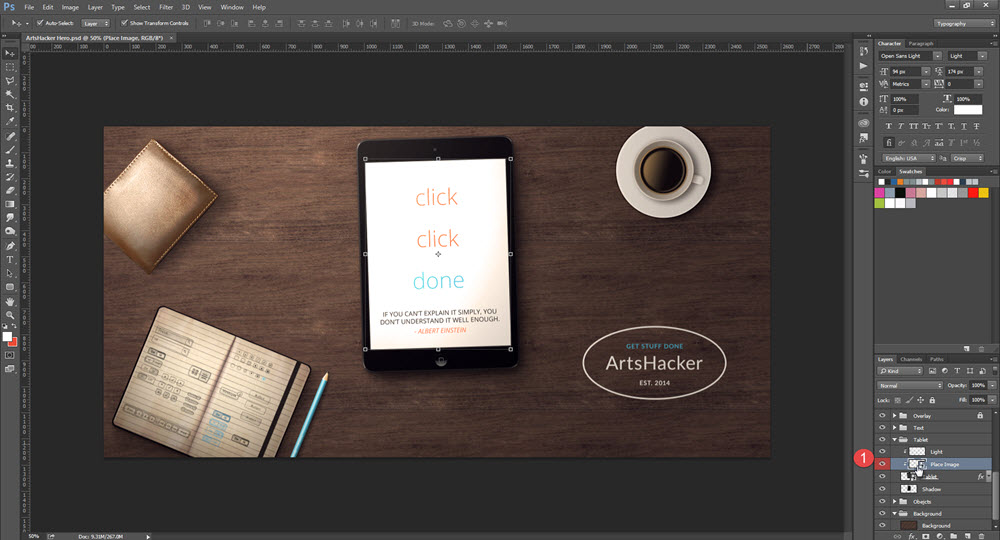
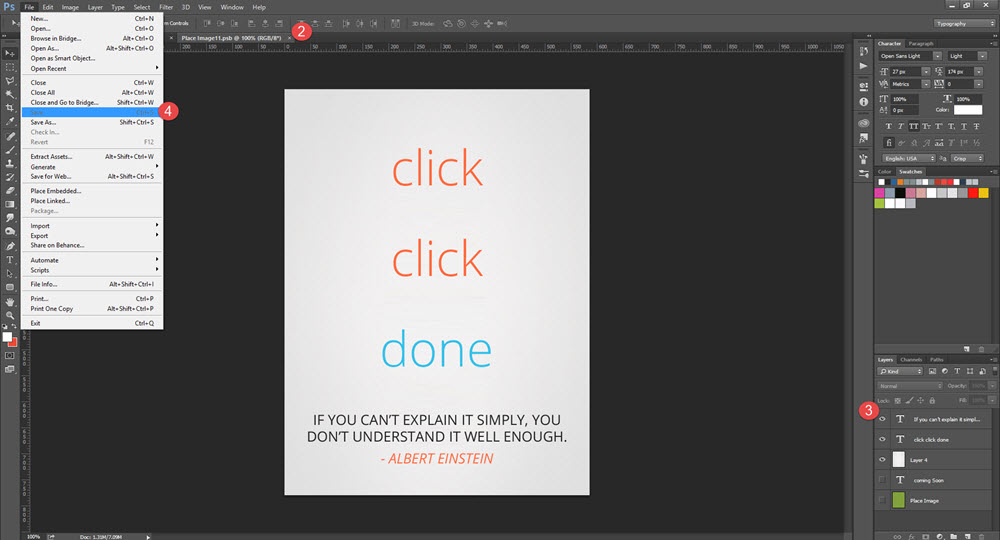
3) Edit content as desired, in this instance, I will end up replacing the “click click done” text with a screencap of Ceci’s Magic Mockups post.
4) Save file (Ctl+S).
You can also visit Adobe’s official instructions which provide a wealth of additional info on what else can be done with Smart Objects.
Get Fancy
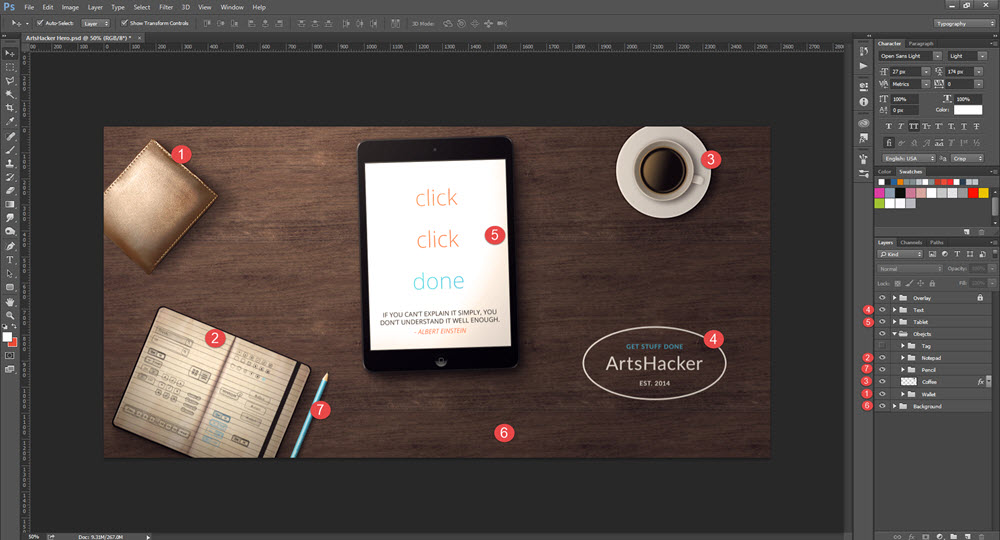
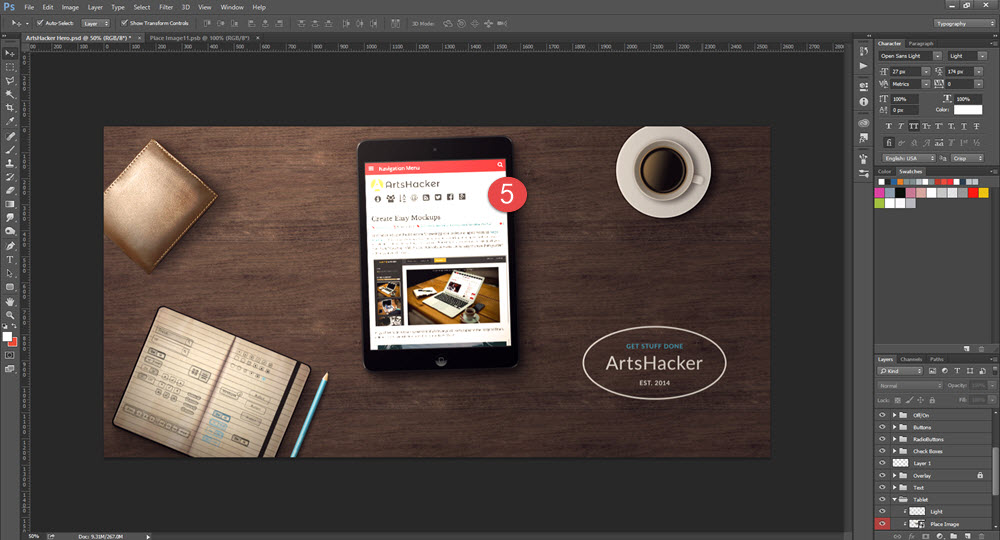
Using this same file, here’s an overview of how much more you can edit in something like a premium mockup.
Each individual item is contained within a mutually exclusive layer group, allowing you to move the item anywhere within the mockup and/or add a variety of filters. Moreover, you can edit each item to your heart’s desire and skill set.
Using this file as an example, I created several versions with items relocated, or even removed, in order to accommodate image dimension requirements for platforms like a Twitter or Facebook header image (both of which require different aspect ratios).
I then helped customize the image in order to add some personality that coincided with intended use (i.e projected “ArtsHacker” in a visual sense).
