Instagram is certainly one of the more popular social media platforms to-date. At 400 million users, this is probably not going to disappear anytime soon. The key component to understanding Instagram, and any social platform, is what demographic does it tap? Ninety percent of Instagram users are under the age of 35. Clearly, the majority of the 400 million users are “young users.” With that said, arts organizations should be interested in developing a strong Instagram account in order to attract a younger demographic to their concerts, events, etc.
Below are some key points to setting up an Instagram account to reaching your new audience. Of course the information applies to artists and musicians, but it is focused on arts organizations.
Account Setup
Download the Instagram app to your smart phone. It is best to set up your account using the mobile app. Instagram is specifically designed for smart phones and not desktops. There is a desktop version to access some content, but it is primarily a mobile social platform.
After opening the app, you will be prompted to sign in. Select the “sign up” option at the bottom.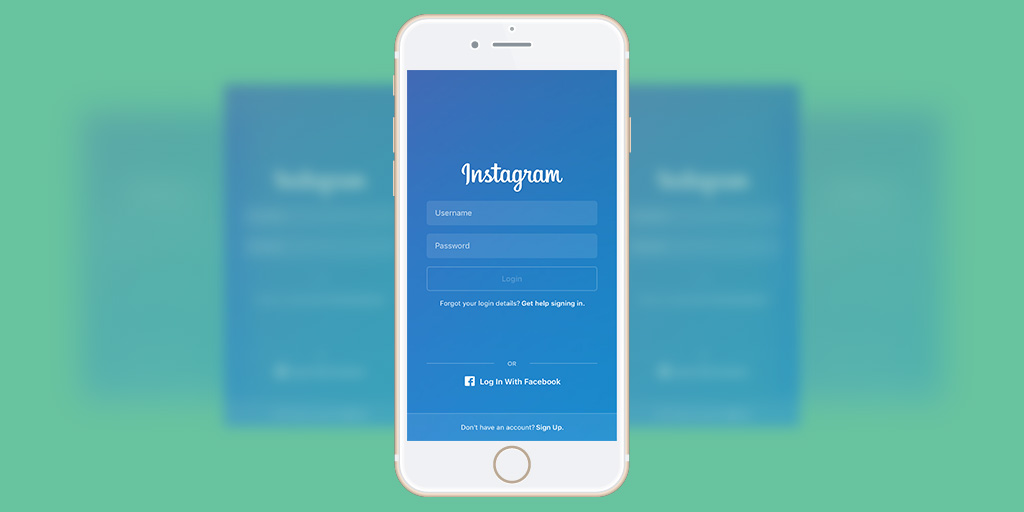
You can either log in using your Facebook account, phone number, or email.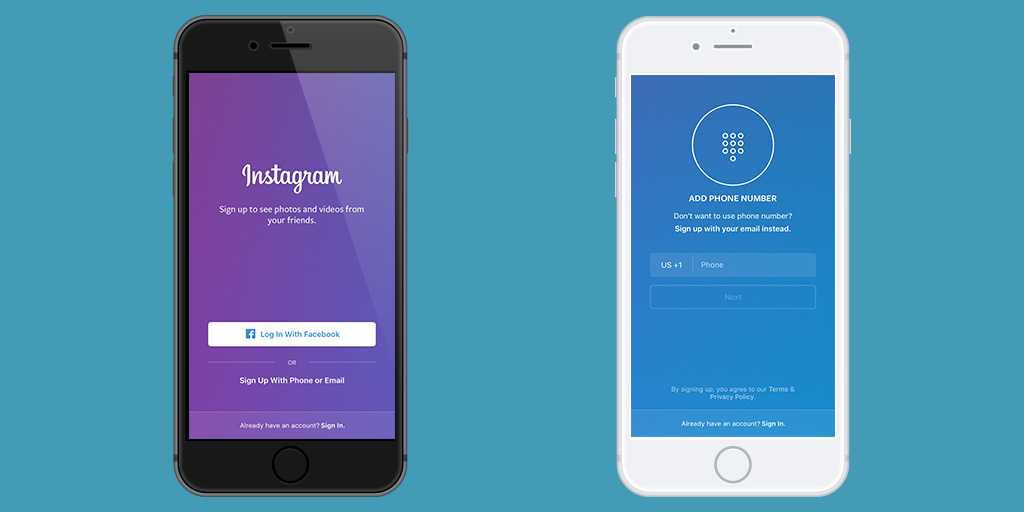
Because you are setting this up as a professional account, I recommend keeping it unlinked to Facebook and using your organization’s email address. When you see these two screens, bypass them and select “sign up with your email instead.”
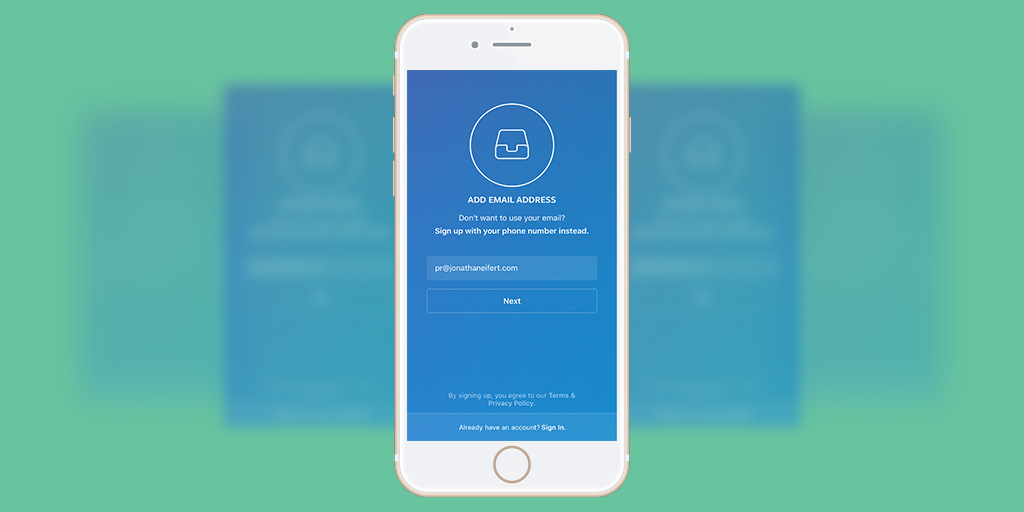
Enter your email, user name, and password for this new account.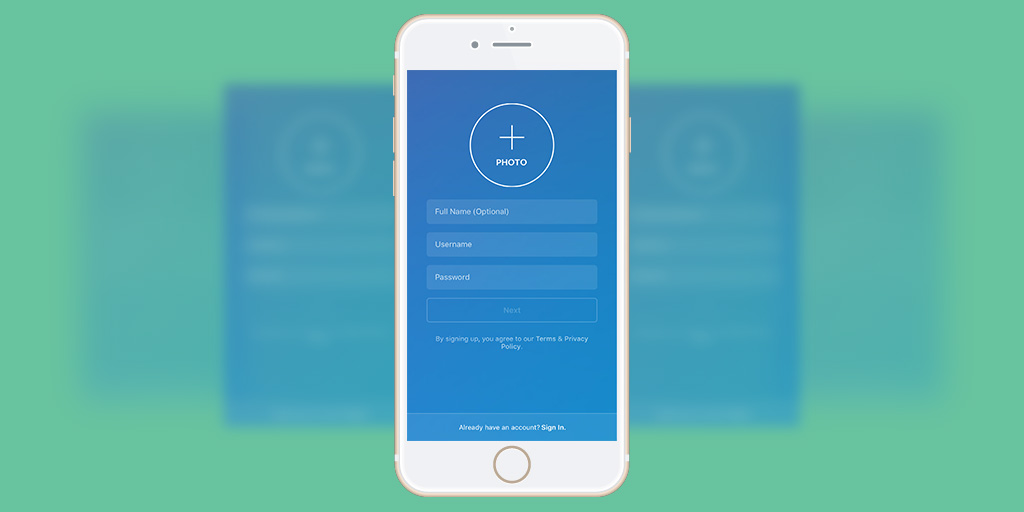
You will be prompted to find friends on Facebook and by searching your contacts. Of course, you can do this if you wanted to launch your account quickly, but I recommend getting your account all set up with some content first. Then, you can contact others to follow your organization’s account.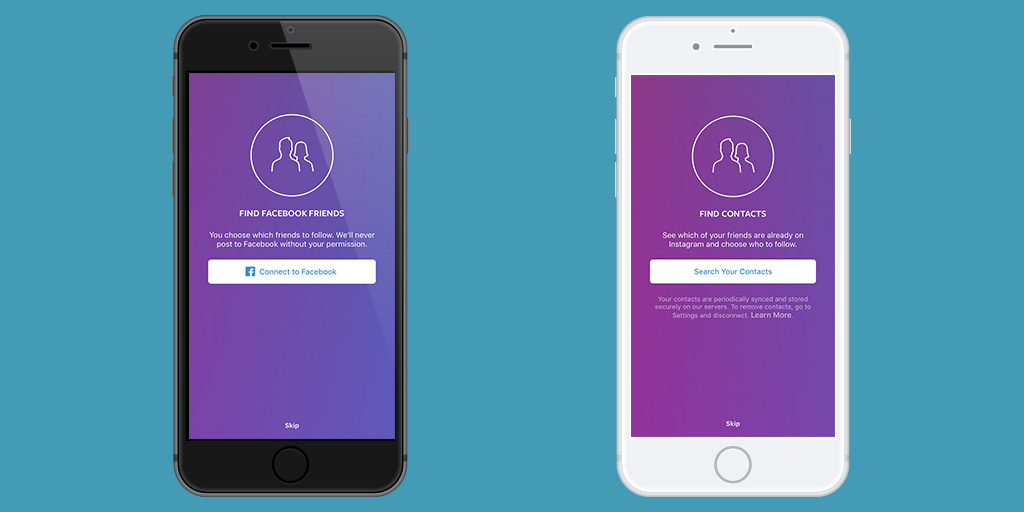
Select topics that are relevant to your organization. This helps Instagram tailor suggested content to your liking.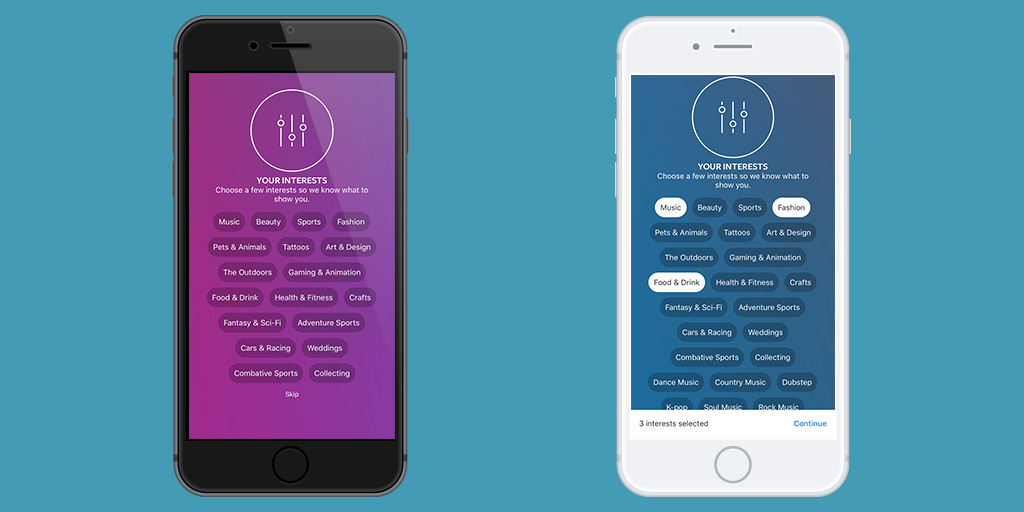
These accounts below appeared after I just went through this set up process. As you can see, it is not really relevant content from when I selected “interests” in the previous step. If this happens to you, just ignore it and select the arrow at the top to continue the set up process.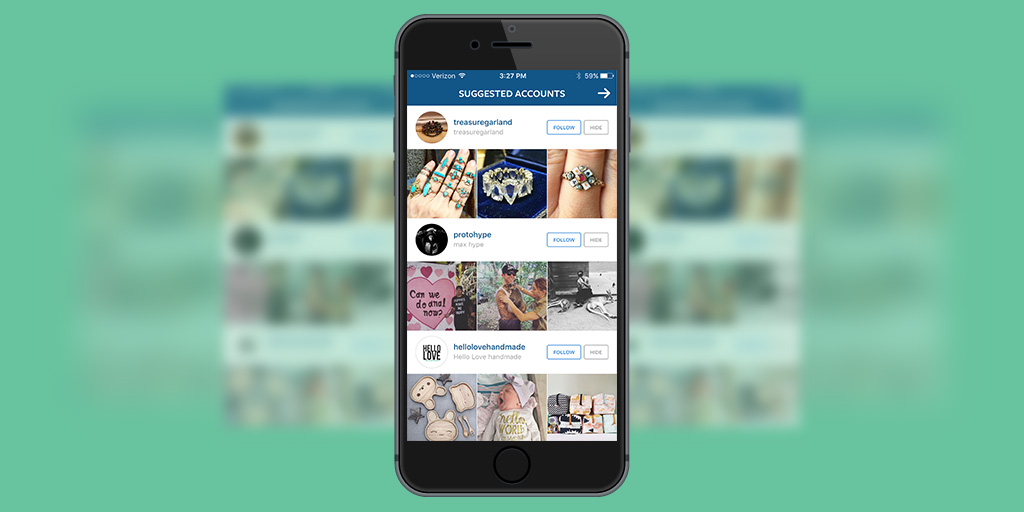
If you have followed the steps above, Instagram will automatically take you to the “Explore Post” section designated by a magnifying glass at the bottom of the app. I found more relevant content here that aligned with my interests I had selected earlier. If you wish, select the “Follow” button as seen below.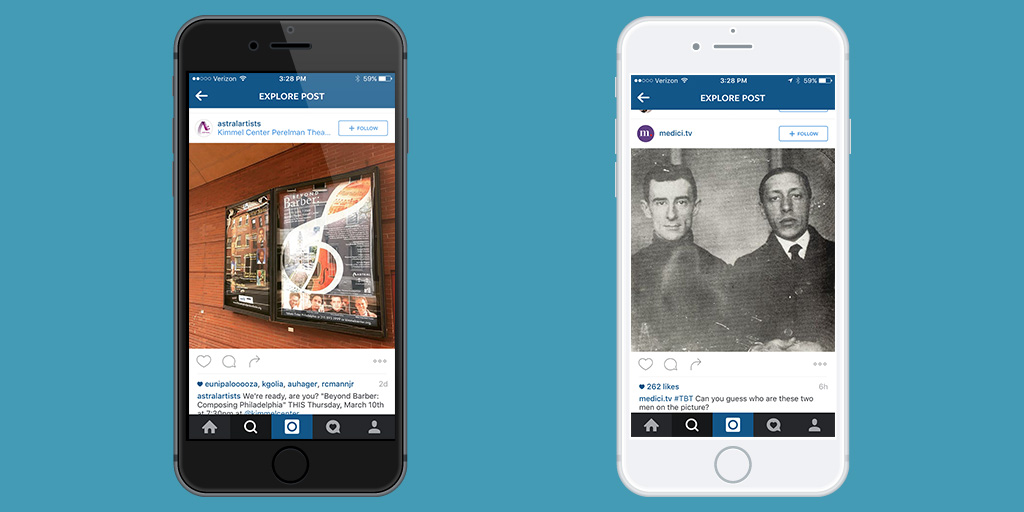
Now that you are well into the set up process, you want to add a profile photo and insert a short bio. Tap on “Edit Profile.”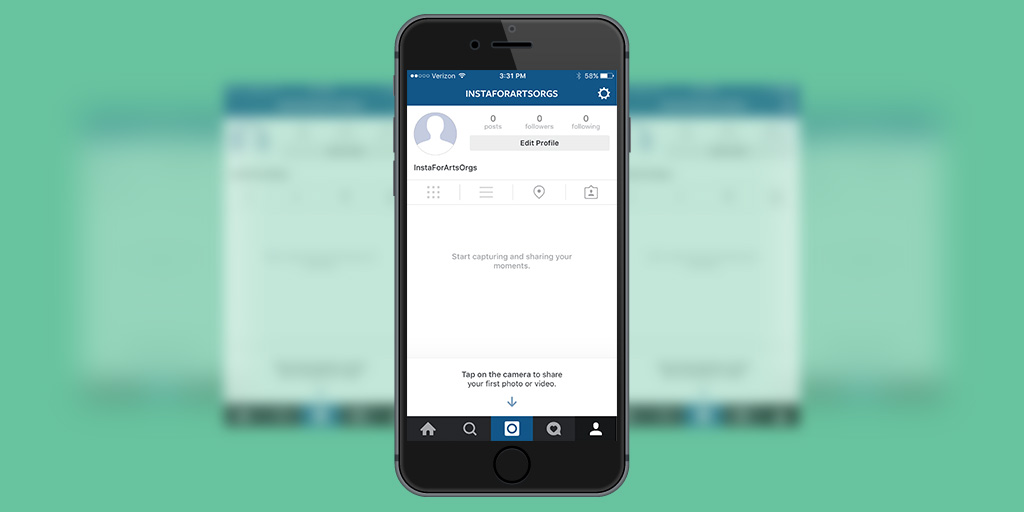
Input a short organizational bio or synopsis of what the account is about. Insert your website’s home page. Then upload your official logo or ask your graphic designer to create an altered one for Instagram. Be sure that the logo is clearly visible. In the case of text logos, it can be difficult to see and that is why a graphic designer might be necessary. I definitely like Instagram logos with bright backgrounds as it “pops” when scrolling through news feeds.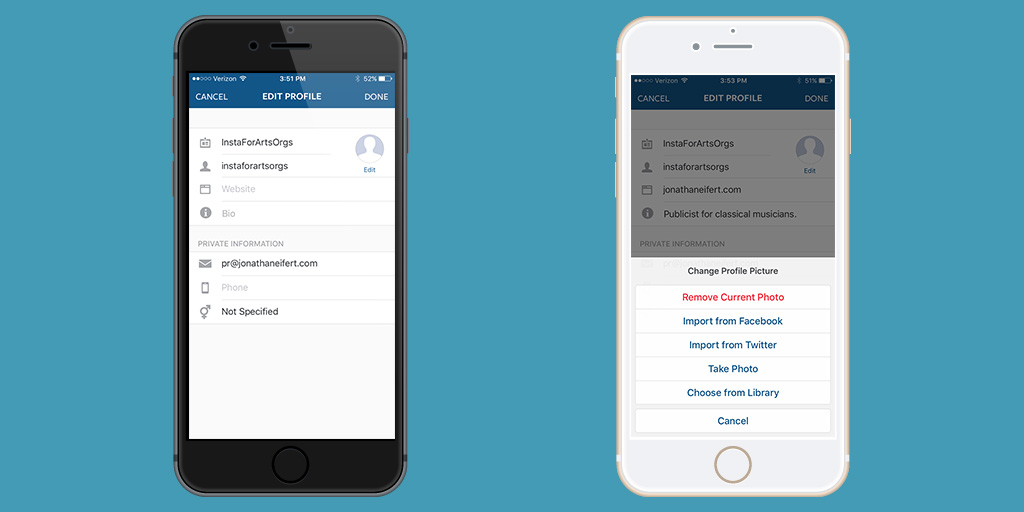
Lastly in the initial set up process, I had a screen pop-up that wanted me to verify my account. Simply enter your phone number to receive a text verification code.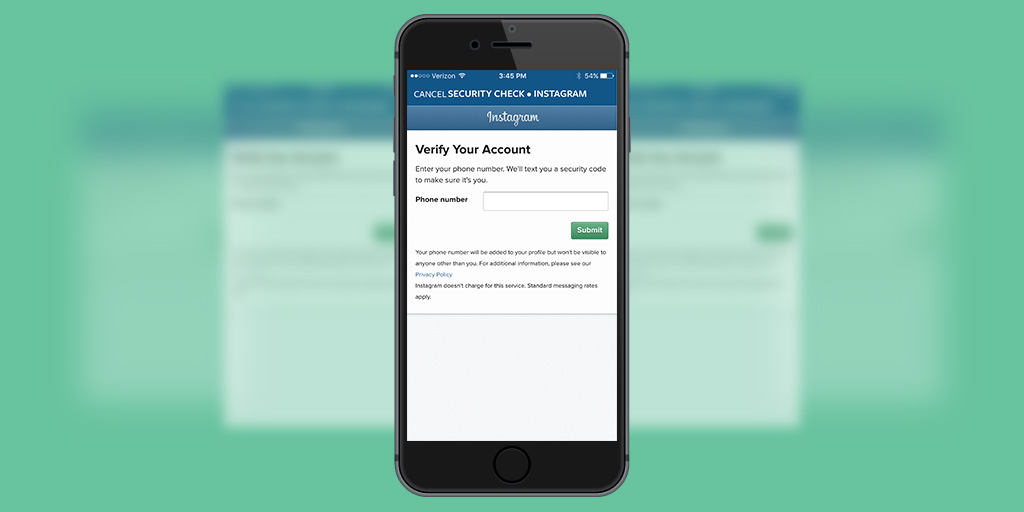
Post The First Photo
Now that the initial set-up is completed, it is time to add your first photo. Instagram content is a whole discussion by itself. Be sure to read my thoughts on it here: Shape Perception on Instagram Like a Stylist.
This example demonstrates the photo editing and sharing process. Instagram is solely built on pictures (and short videos). Its primary success is due to sharing visually compelling content, and so it remains very important that the photos or videos you share are just that.
Select the blue camera button at the bottom of the app and choose a photo from your camera role. In order to consistently push out Instagram content this way, you will need to have that content in your phone already. Then when you open the app, you are ready to go.
As you can see below, after selecting a photo there are multiple filters to apply. These filters have changed over Instagram’s history. For first-time users or users who are not visually inclined, it is probably best to stick with using filters. This will save you a lot of hassle. I have found that I prefer editing photos without using filters since I think they seem to come out better. Select the icon that looks like a wrench (image on left below) to edit photos without a filter or combined with a filter.
Select “Next” to continue to the following page. Add a description, throw in some hashtags; emjois can be used at your discretion.
You can also geo tag your post. This can be good for different reasons, but especially important if you have an arts organization that is physically based at one location. Developing a photo track record from that one geo tag is quite nice.
Before sharing the post, tag any person or organization in the photo. This is not necessary, but helps with the interconnectivity of Instagram’s functionality.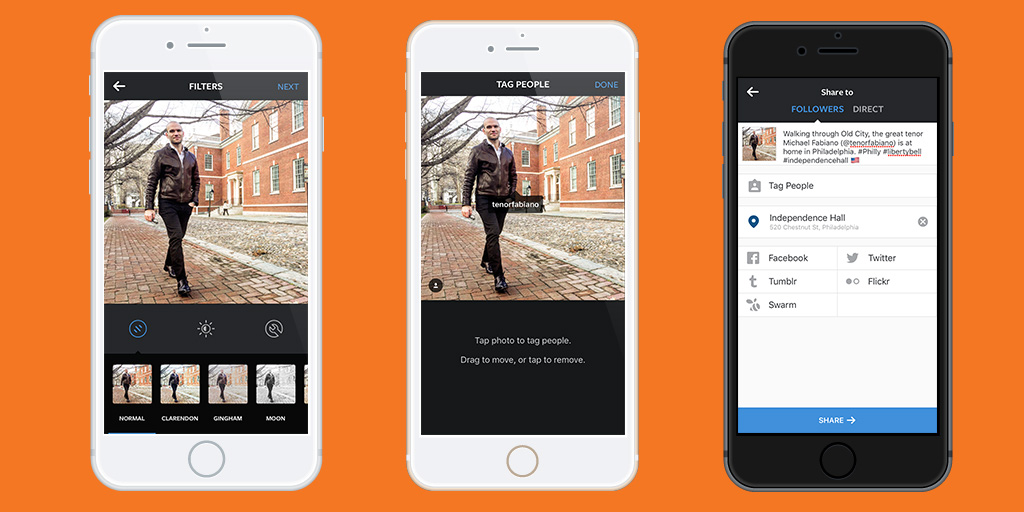
Follow Other People And Organizations
Now that your account is set up with a logo, bio, and first photo, you definitely need to gain a following. Since this could be a topic by itself, here are a few simple tips to get your Instagram afloat.
As you had an opportunity in the initial set up process to follow people using your phone contacts list or Facebook friend list, you can still do so. Now is a better time to do this since you have at least one photo posted. I recommend sharing 5-10 photos right away and then following contacts or Facebook friends. Why? People get notified when someone “new” follows them. It is typical that they will be curious with the type of content you produce and will want to view your profile page (person icon at the bottom of the app). You want to have existing content present to entice them to follow you if they have not made up their mind yet. However, as you build Instagram into your marketing mix, you will want to release one photo daily (or a few times a week), but not 10 photos at a time as in the set up process.
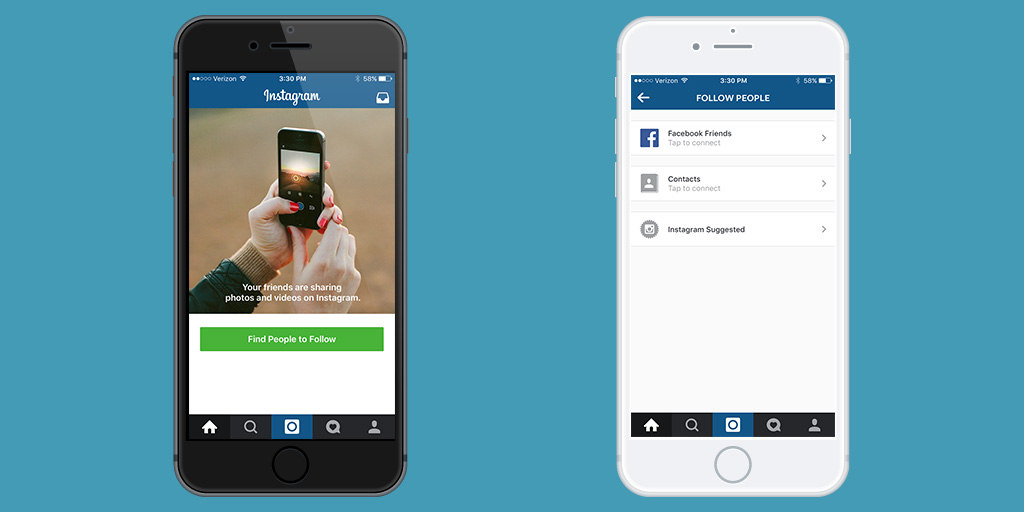
Lastly, I recommend searching for an arts organization that is similar to your own. Examine whom they follow by tapping on their profile. The top of the profile will state “following.” Tap that and a list will appear. It is typically safe to say that whom they follow, you should also follow.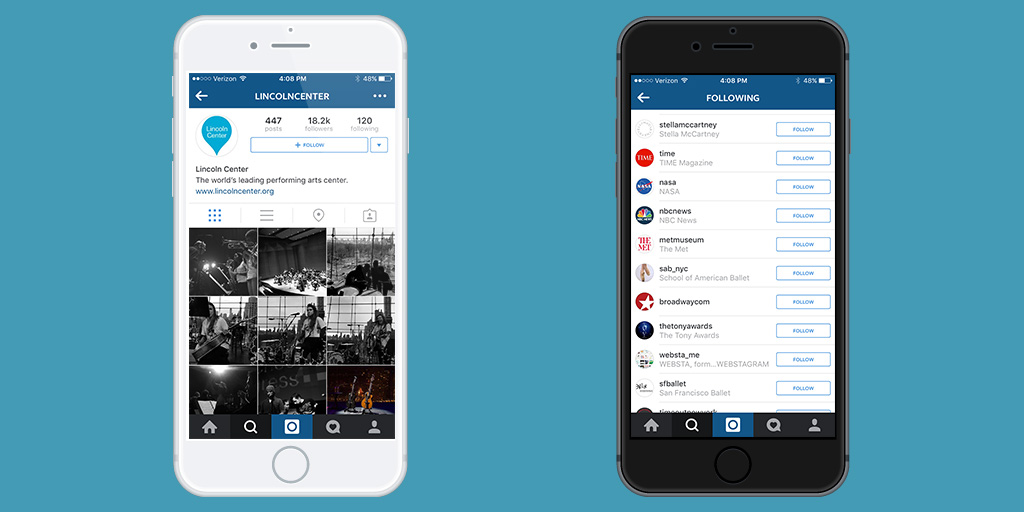
Happy posting!
[box style=”note”]Editors Note: this is the first in a series of posts on how arts organizations can better understand and develop an effective Instagram strategy. Now that you know how to get an account up and running, you can look forward to additional articles from a variety of our regular contributors covering everything from how you can identify worthwhile content, set campaign goals, and track your success in a way that will let you bring the quantifiable results to your next staff meeting.
[/box]
